Teaching Studio
The Center for Teaching and Learning Innovation, Development and Design (CTIDE) welcomes you to our exciting new teacher recording studio, where we empower faculty members to create engaging and impactful educational materials in a dynamic setting. This facility is designed to support the diverse teaching needs of our faculty and enhance the learning experiences of our students.
Get to Know CTIDE's Teaching Studio
Studio Environment & Equipment
Our studio provides a professional and technologically advanced environment that enables faculty members to deliver their content in a visually appealing and pedagogically effective manner.
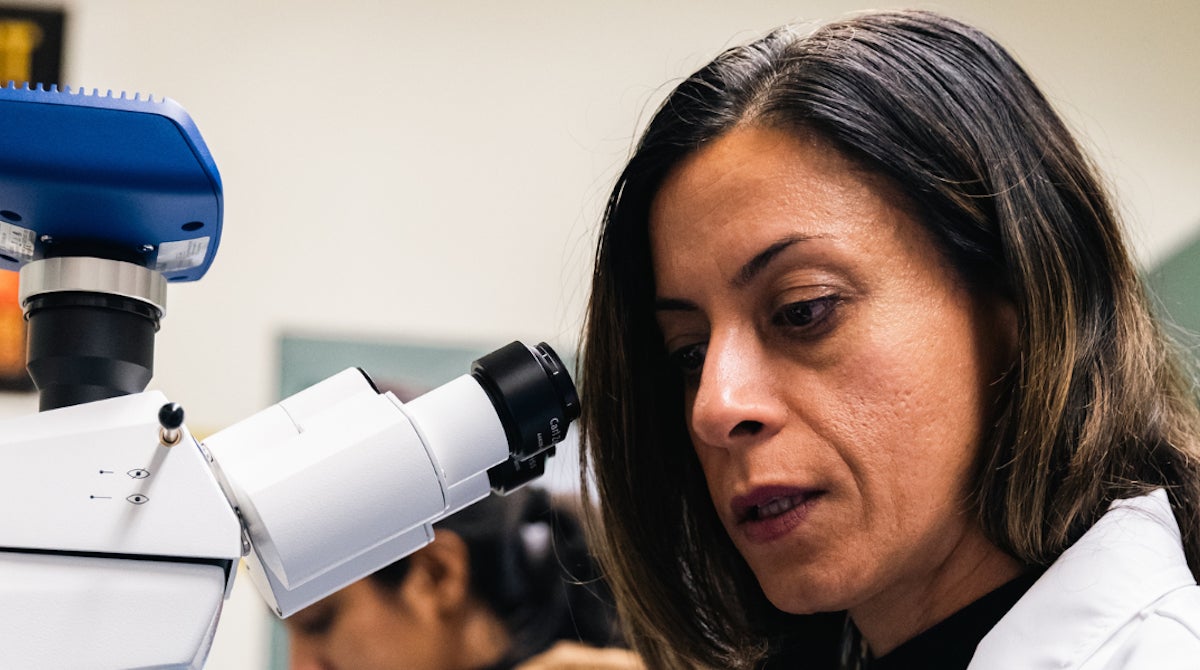
The Teaching Studio is equipped with:
- high-quality cameras
- microphones
- lighting systems
- staff to assist with editing
Our facility ensures exceptional recordings to support student engagement in online learning.
Accessibility
We understand the importance of accessibility and inclusivity in education. That’s why our studio is designed with Universal Design for Learning (UDL) principles in mind. We offer various features and accommodations to ensure that your instructional content reaches all students, including:
- closed captions
- transcripts
- alternative formats
- visual accessibility considerations
How CTIDE Can Assist You in the Studio
We Provide Studio Introductions
We will introduce you to the studio's equipment, guide you through the recording process and provide you with the necessary skills to create captivating instructional content.
We Answer All Your Questions
We offer ongoing support, answer any technical questions and provide assistance throughout your recording journey.
We Offer Consultation & Collaboration
We prioritize collaboration and consultation with our faculty members to help you plan your recordings, structure your content effectively and incorporate interactive elements.
Frequently Asked Questions
During a Teaching Studio consult, you’ll meet with a CTIDE member to brainstorm the best way for your instructional content to be translated into a recorded format.
Our consultations typically include the following:
- Pre-Consultation Preparation
- Introduction and Needs Assessment
- Review Course Content and Learning Objectives
- Designing the Instructional Approach
- Content Structure and Organization
- Interactive Elements and Engagement Strategies
- Accessibility and Inclusivity
During a Teaching Studio orientation, you’ll meet with a CTIDE member to brainstorm the best way for your instructional content to be translated into a recorded format.
Our orientations typically include the following:
- Studio Introduction
- Technical Equipment & Operations
- Software Use & Post-Production
- Best Practices for Content Delivery
- Accessibility Considerations
- Ongoing Support & Resources
Here are some tips on how to best prepare for your Teaching Studio session.
- Define Your Learning Objectives
- Clearly define the intended learning outcomes you want to achieve through your instructional content. This helps in designing the content with a specific purpose in mind.
- By identifying the specific knowledge or skills students should gain from your presentation, you can focus on delivering content that aligns with the course curriculum and learning outcomes.
- Structure Your Content
- Organize your presentation in a logical and coherent manner. This involves outlining the main points or topics you want to cover and determining the appropriate sequence.
- Using an outline or storyboard can help visualize the flow of information and ensure a smooth transition between topics.
- Breaking down complex concepts into manageable segments helps students better understand and retain your content.
- Engage Your Audience
- Incorporate interactive elements to actively engage students throughout the presentation. This can include asking questions, providing opportunities for reflection, or incorporating short activities or quizzes.
- Use visual aids, such as slides, diagrams, or videos, to complement the spoken content and provide visual reinforcement.
- By including elements that encourage participation and interaction, you can create a more engaging learning experience.
- Keep it Concise
- Your instructional content delivered in a recorded format should be concise and focused. Students often have limited attention spans, so it’s important to deliver information in a succinct manner.
- Don’t offer lengthy monologues. Use clear and concise explanations. Consider breaking up your longer content into shorter videos or segments to maintain student engagement.
- Use Visuals Effectively
- Create visually appealing slides or visual aids that enhance understanding. Visuals should support and complement the spoken content, not distract from it.
- Use relevant images, graphs, charts, or animations to visually represent concepts or illustrate examples.
- Maintain a balance between visual elements and the spoken content, ensuring they work together harmoniously.
- Practice and Refine
- Rehearse your presentations before recording. Practicing helps to improve delivery, confidence, and pacing.
- Record a practice run to evaluate the clarity of your explanations, timing, and overall delivery. You can review the recording and make necessary adjustments or refinements.
- Get feedback from peers to further enhance your content and presentation style, ensuring that it effectively conveys the intended message.
- Consider Accessibility
- Ensure your presentations are accessible to students with diverse needs. This includes making content perceivable, operable, understandable, and robust.
- Use closed captions or transcripts to make the content accessible for students with hearing impairments or those who prefer to read along.
- Design slides with sufficient contrast and readable fonts, ensuring that visual elements are accessible to students with visual impairments.
- Seek Feedback
- Seek feedback from colleagues, instructional designers, or even students. Getting feedback from others can provide valuable insights and different perspectives.
- Think of this as a culture of continuous improvement – incorporate the feedback you receive into future recordings to enhance your teaching methods and content delivery.
- Be Authentic
- Maintain authenticity and a natural conversational style. Be yourself and your enthusiasm for the subject shine through.
- Incorporate storytelling or personal experiences to make connections with students and create a more engaging learning experience.
- Recorded presentations should still feel personal and relatable, even though they may not be delivered in a live setting.
Design Your Video
Start planning your instructional video by picking one key topic, learning outcome, or goal. Then identify the most essential content to include. You might want to prioritize
- algorithmic content like how to solve for an equation;
- clear visual aids like maps or diagrams;
- examples and anecdotes that illustrate ideas or emphasize important points;
- and complicated concepts that students might want to review multiple times.
Instructional videos usually work best if they’re less than six minutes long. You can think of a video as a highlight reel or a quick dive into an important topic. Consider starting with a “hook” (like an interesting real-world example), diving into engaging content, then wrapping up with a quick summary of what you’ve covered. Research also suggests that extraneous information, complicated slides, and even music can distract from learning. Simplify your presentation so students can focus on what matters.
You can also support students by providing tools to help them process the information in the video. For example, you can invite them to think about specific guiding questions while they watch. You can ask them to submit a quiz or share a reaction on a discussion board after they watch. You can even make the video part of a flipped classroom experience. In that case, you’ll replace your usual in-class lecture with this new video and pre-class knowledge checks. Then you’ll dedicate that freed-up class time to active learning opportunities.
Please note that students are more likely to watch one video than five for a single class session. They may also be more interested in a new video if they’re not already balancing a heavy homework load.
Create Your Slides
Consider these tips for designing effective studio slides:
- KEEP IT SIMPLE.
The best slides for studio presentations are simple, focused, and contain very little text. When you embed a video in a Canvas assignment or quiz, the video size will be similar to a cell phone screen. Prioritize visual content like basic graphics and charts to make your slides effective at that scale.
- USE A LARGE FONT SIZE.
Use 18pt or larger fonts in your slides. You can use even bigger font sizes in slides that you’ll use in Projector scenes (since slides in Projector scenes only occupy part of the screen).
- PLAN AHEAD.
Familiarize yourself with the studio’s capabilities
Choose Your Recording Outfit
Wear an outfit that will look great on camera:
- Choose a garment that includes both
- a neckline or lapel where you can place the clip-on microphone;
- and a back pants pocket or belt where you can attach the microphone hardware.
- Make sure you’re camera-ready from the top of your head to your knees! (Your shoes generally will not be visible on camera.)
- Wear solid color clothing. (You may be able to wear a simple pattern if you’re wearing a jacket over it.)
- Don’t wear all white, all black, all red, the same green as the green screen, or the same color as your studio slides.
- Avoid visible labels, logos, or text; wrinkled clothes; shiny fabric; and busy patterns (like high-contrast stripes, plaids, or polka dots).
- For shoes, consider wearing flats. High heels can make it difficult to operate the studio foot pedals.
- Wear makeup if desired. Face powder can help prevent shine under the studio lights.
- Avoid jewelry or other accessories that could make noise while you’re recording.
Use our online booking form to make a reservation.